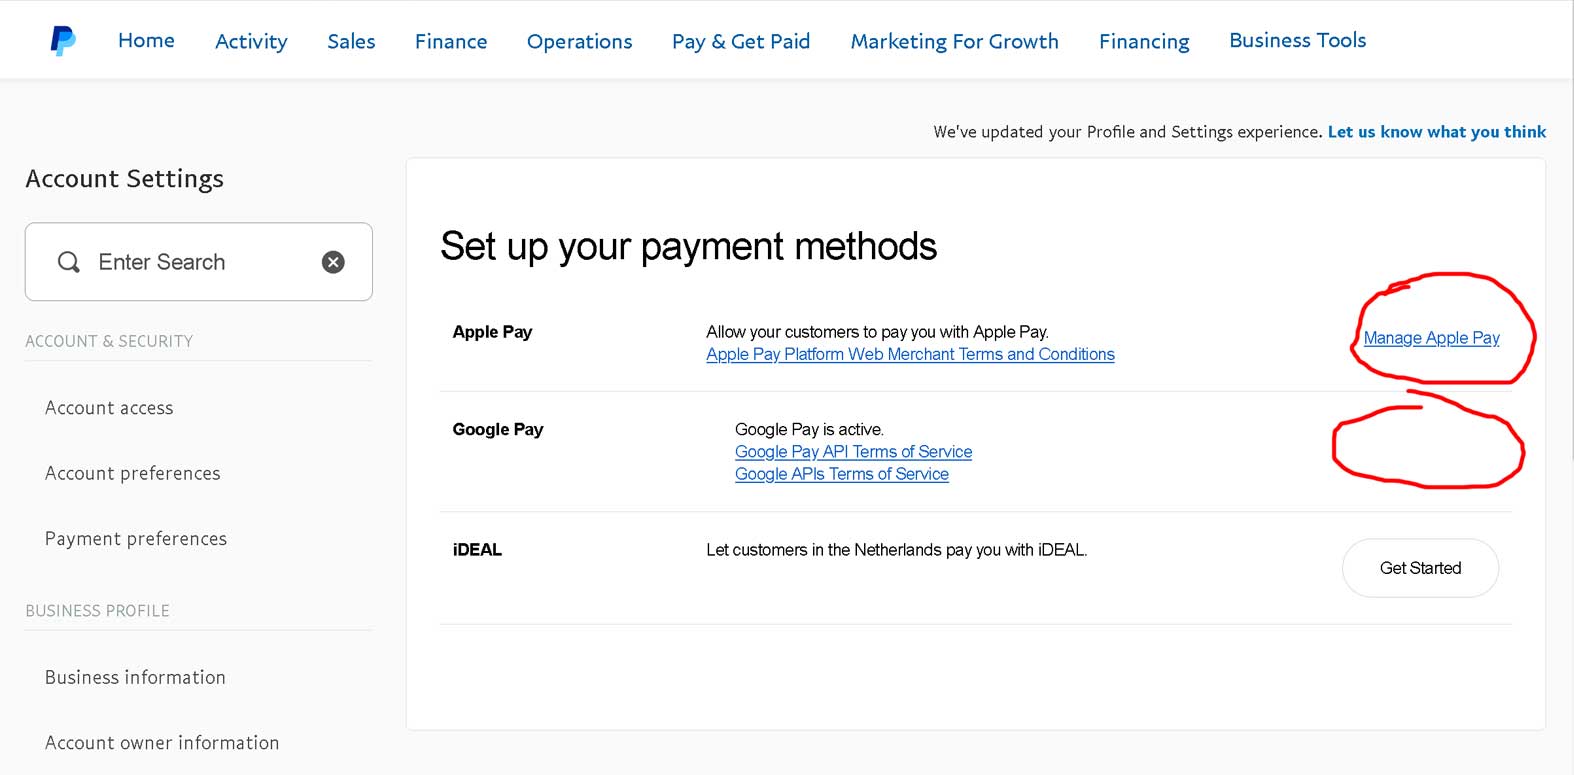
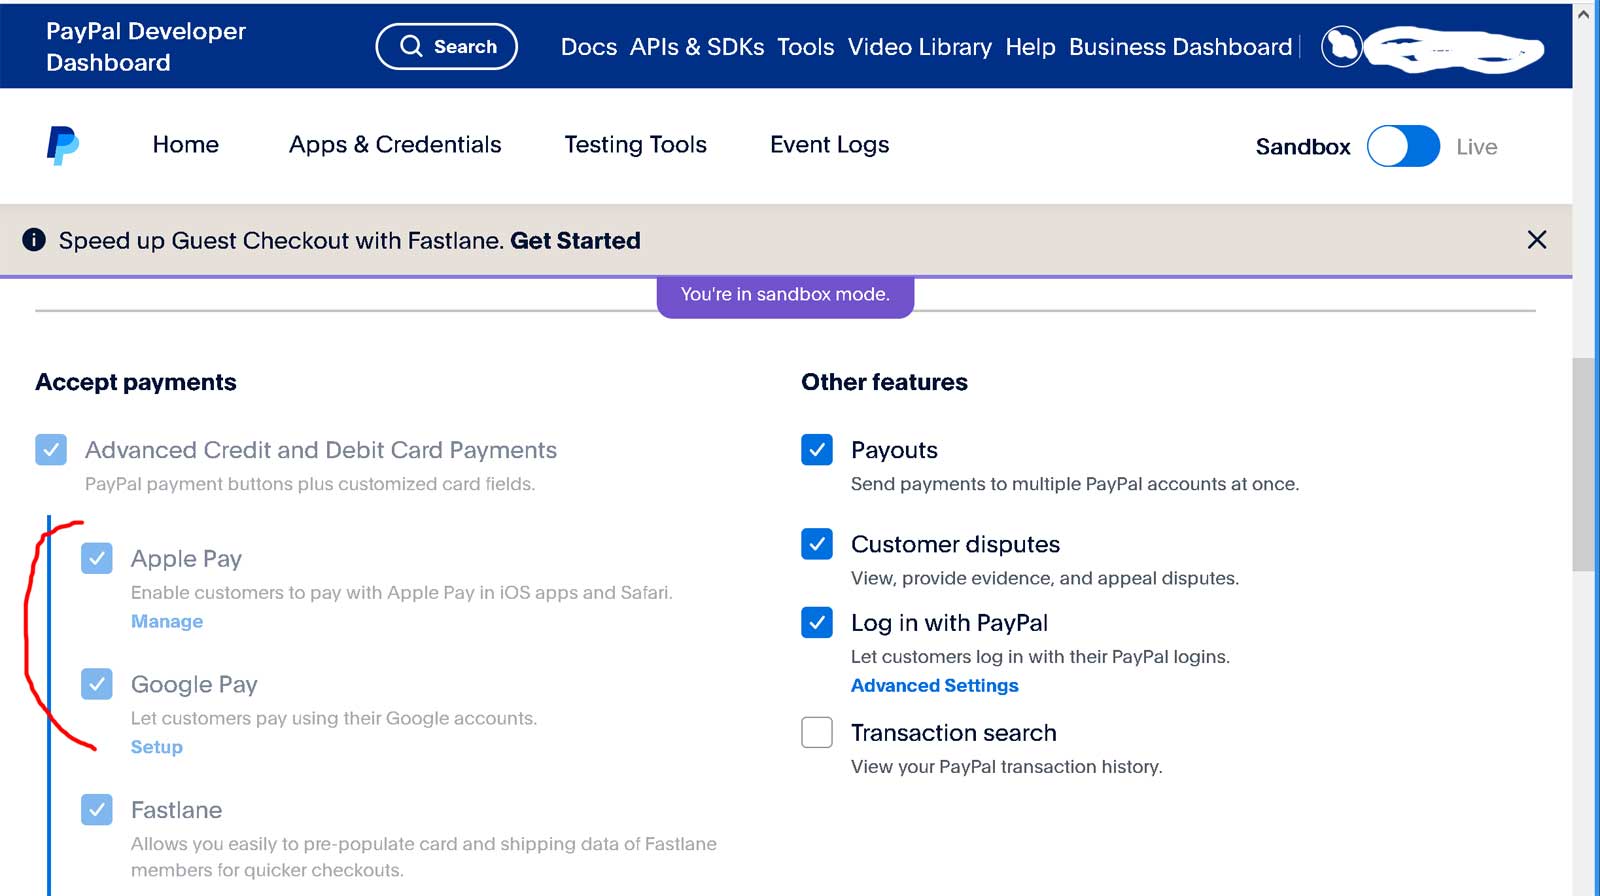
Installation and configuring plug-in PayPal Smart Payment Buttons Pay attention. If you would like to implement Google Pay and Apple Pay you should follow the official documentation: Google Pay Apple Pay How to enable them? Read this link 1. You can configure plugin very easy. Install plugin and open plugin configure page. Configure plugin using your PayPal credentials. You could hide some of payment methods and enable Google Pay and Apple Pay. This is the checkout page. Before using these payment methods you should enable them on the PayPal dashboard. Enable them for the application
This plugin uses a new Rest API v2 (server side implementation).
If you use our plugin PayPal Express Checkout you need to disabled it. This plugin uses Rest API v1.
https://developer.paypal.com/docs/checkout/apm/google-pay/
https://developer.paypal.com/docs/checkout/apm/apple-pay/


If you didn't do it the PayPal Smart Payment Button will not work.
Google Pay is only supported for the US region.
If you have created a sandbox business account through sandbox.paypal.com and find that the Google Pay status for the account is disabled, I recommend completing the sandbox onboarding steps to enable Google Pay. This will allow you to test your Google Pay integration using the sandbox environment.
https://www.sandbox.paypal.com/businessmanage/account/payments
Once you are ready to go live, I suggest completing the production onboarding process. This will enable you to process Google Pay payments with your live PayPal account.
https://www.paypal.com/businessmanage/account/payments

